Bookbinding with Natalie Birinyi
/Learn how to make two different types of books using every day supplies with Natalie Birinyi!
For this workshop, you will need:
-Paper (could be plain computer paper or any nicer paper you have!)
-Scotch tape
-Packing tape
-Needle and thread
-Ruler
-Scissors
-String or thread, if you’d like
MEET YOUR INSTRUCTOR
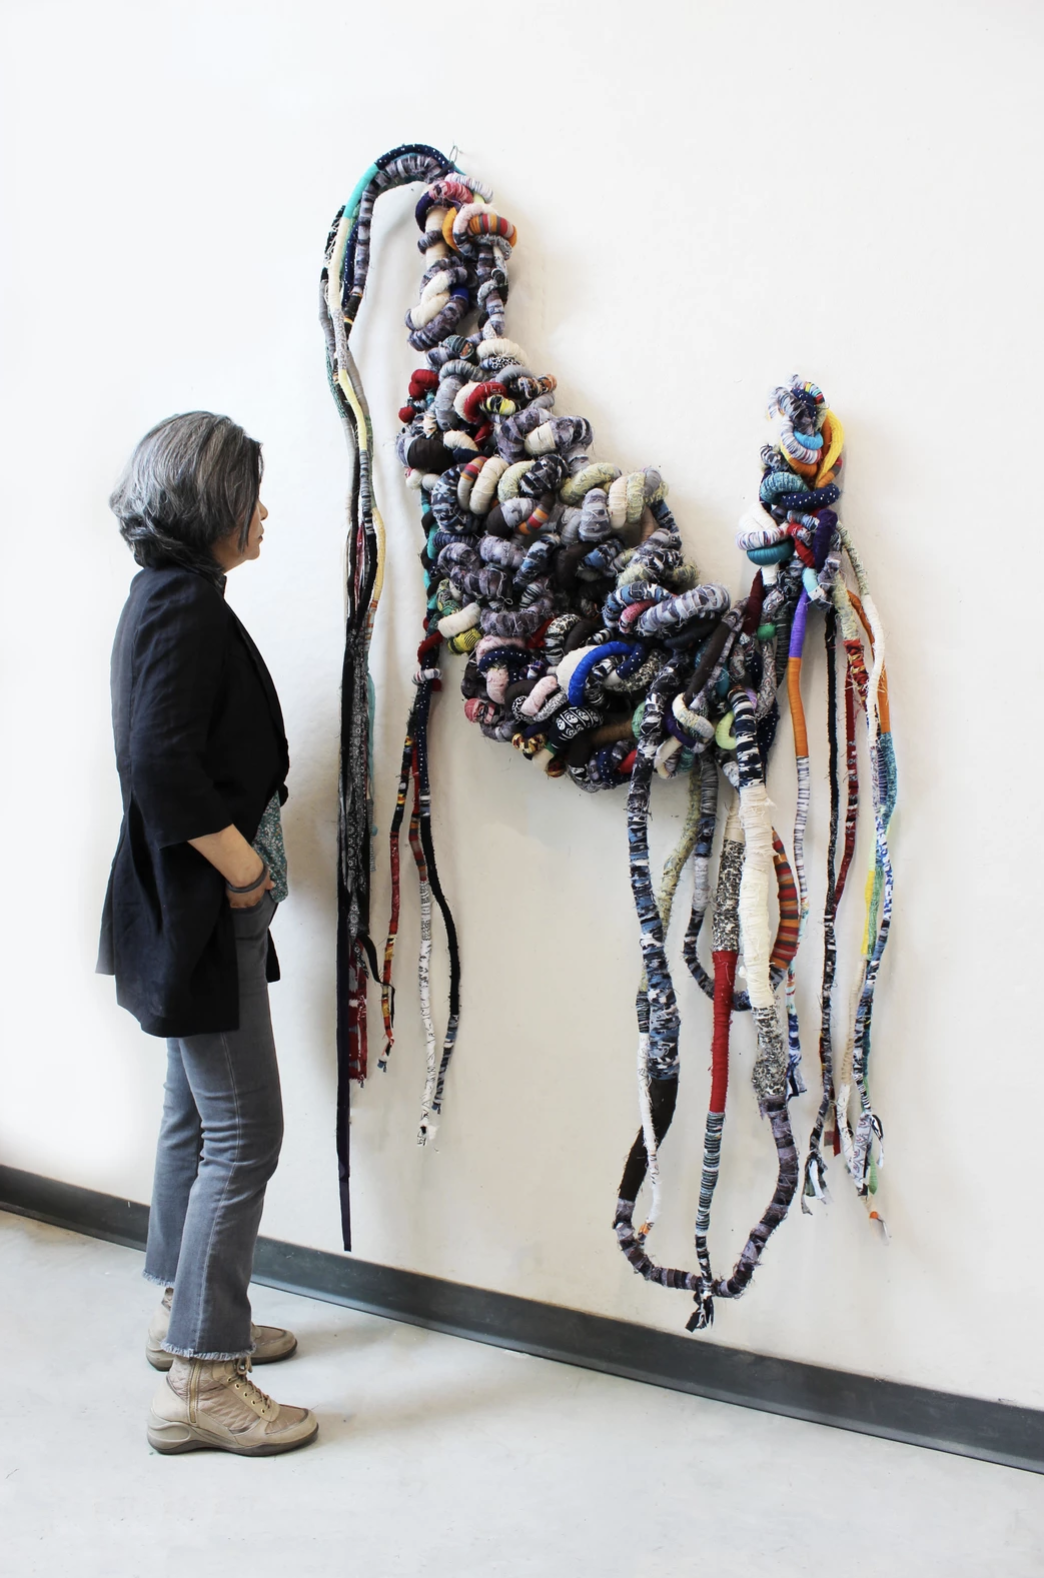
Natalie Birinyi is a Brooklyn based artist. She received a BA from Columbia University and an MFA from Hunter College. She has exhibited nationally and internationally including in Spain, Austria, Serbia, Argentina, and China. Her work examines the porous boundaries between man, nature, and technology and projects a future in which the divisions erode.
Step 1: Cut sheet of paper in half
Cut paper long-ways, each strip of paper will make four pages in your book. Cut down as much as paper you’d like!
Step 2: Fold each strip of paper
First fold strip in half (short-ways), then fold each side in half outward towards the crease of the first fold. You can use your fingernail or a rounded object like a pen to make strong creases.
Take right edge to left edge, folding strip in half (short ways). Take that same edge and fold back toward to new right edge, folding strip into a quarter. Repeat on the other side to end up with alternating accordion folds.
Step 3: Tape together folded strips of paper
When you have the amount of pages you’d like, use scotch tape to tape together the strips of paper. Use a piece of tape longer than the length of the paper, and place the tape on one (short) edge of the paper, making sure to cover each corner. Then attach the edge of another piece of paper to the tape, lining the two pieces together evenly. Carefully cut off the excess tape for a smooth edge. Repeat until you end up with the desired number of pages.
Step 4: Choose the paper for your cover and reinforce
You may use any type of paper for the cover, whether it be more computer paper, a drawing, a photograph, or any nicer or sturdier paper you may have. Tip: coat the back of the paper (the side that will be inside of the book) with packing tape to strengthen the cover! You will want your cover to be a bit bigger than your pages (Natalie happened to only have a slightly smaller piece). Make sure it covers the top and bottom of your pages, and is long enough to fold over your pages. If it is too long you can cut it in the next steps!
Step 5: Create book spine
Place your pages near the edge of the cover paper. Mark the edge of the paper stack where you will make your crease for the book’s spine, then fold over the cover, creating a strong crease. Then measure how tall your stack of paper is, and mark your cover and create another crease so your paper fits nicely within the spine you have created.
Step 6: Finish your book cover
After creating the spine of the book, measure the width of your cover and cut down the excess paper so that both covers are the same size.
Step 7: Attach pages to cover
Place your back page flat onto the inside cover surface and tape the long edge with a piece of scotch tape longer than the length of the cover, like in Step 3. Cut off excess tape.
Step 8 (optional): Create a string bind for book
Thread needle and make a small hole near the edge of the cover and tie off the end, making a string bind to close your book!
Stitch-Bound Book:
Step 1: Cut sheet of paper in half
Cut paper short-ways for this type of book, and then fold in half short-ways. You can stitch a mix of any types of paper you have, so feel free to get creative! Cut and fold as many sheets as you’d like for your book, making them the same size.
Step 2: Mark center of book
Stack all of the sheets together, then measure and mark the exact middle point of the crease in the center of the book. Then, measure and mark the middle of that point and the edge of the paper, and do the same with the other half of the crease, making three points equally distant from each other. When you have made these points, use a sharp point to poke holes at these points. Natalie uses a professional stitching awl but you can use a sewing needle, you just may need to poke through one or two sheets at a time, as well as create your marks on every sheet poke through.
Step 3: Choose the paper for your cover and reinforce
You may use any type of paper for the cover, whether it be more computer paper, a drawing, a photograph, or any nicer or sturdier paper you may have. Tip: coat the back of the paper (the side that will be inside of the book) with packing tape to strengthen the cover! You will want your cover to be a bit bigger than your pages. Make sure it covers the top and bottom of your pages, and is long enough to fold over your pages. If it is too long you can cut it in the next steps!
Step 4: Create cover of book
Place your stack of paper near the edge of the page and mark where you would like to create your spine. Create a strong crease using a rounded object. Then, measure and cut down the covers so they are equal in size.
Step 5: Mark cover and pages of book
Measure and mark the center of the cover’s crease. Because your cover is slightly larger than your pages, you will measure the center of the pages’ crease, as well, then measure and mark the middle point between the center and the top edge of the pages themselves, rather than the cover. Take this measurement and create a mark on your book cover. Repeat with the other half of the crease, making a total of three marks on your cover. Use a needle or awl to poke holes through the marks in your cover and stack of pages.
Step 6: Time to sew!
Thread your needle. You will only need as much thread as twice the length of the spine of your book, plus a little extra to make a knot. Pass your needle through the center hole in your pages, from the inside of the book to the outside. The first time through may be a bit difficult, you can thread through just a page or two at a time to make it easier!
After threading through all of your pages, pass the needle through the center hole of the cover, as well. Then thread the needle through the top hole in your cover, and through the top hole of your pages, ending up back inside of your book. From there, you will loop around and bring your needle over the top of the book and back outside of the cover, and pass through the same top hole in the cover.
Once back inside of the book, pass the needle through the center hole again to the outside of the cover, and then through the bottom hole. Once again, loop around and bring your needle over the bottom of the book to the outside cover, then pass the needle through the same bottom hole, back to the inside of the book.
Tighten all of the stitches, then you will be left with two loose threads inside of the book. Make a tight double knot in the center, cut off the excess string, and voila!
Step 7 (optional): Create a string bind for book
Thread needle and make a small hole near the edge of the cover and tie off the end, making a string bind to close your book.
Feel free to experiment with your books by adding extra flares: fun patterned papers, bookmarks, uniquely shaped and sized covers, and you can print out/create photos, drawings, or anything else on paper to stitch into your book. The possibilities are endless, so have fun with it!


